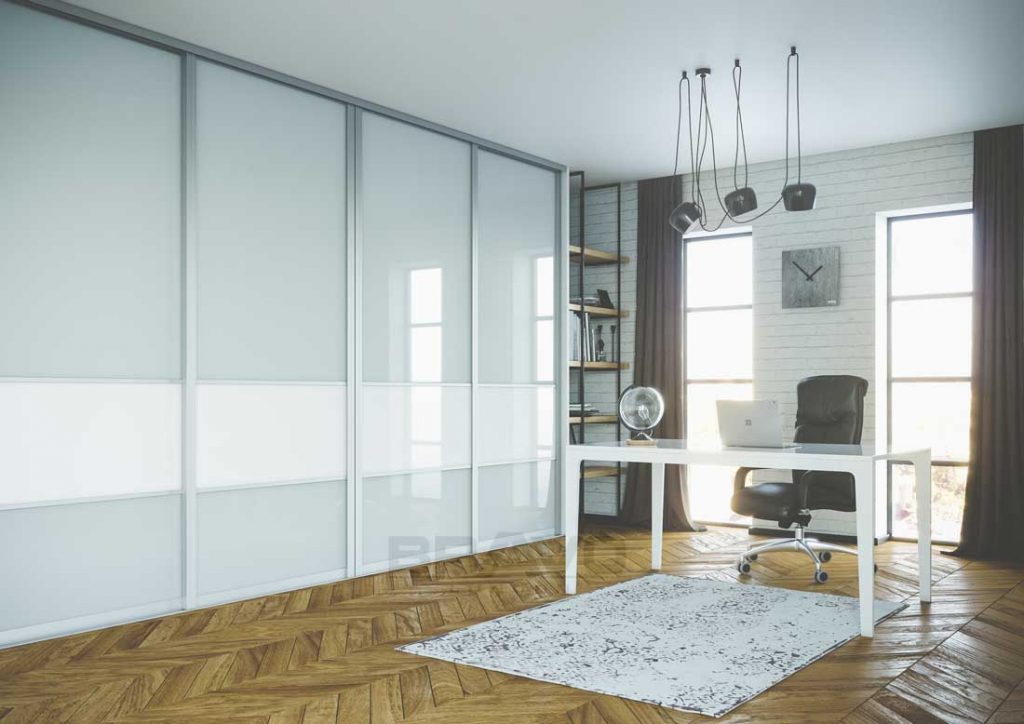
Some people believe that sliding wardrobe installation is a very difficult and time-consuming task. However, this is not always the truth.
While fitting sliding wardrobe doors, you need to take into consideration many important things. The process consists of the following stages: making measurements, fitting and installing sliding wardrobe doors.
On the other hand, things are likely to go easy if you know how to install sliding wardrobe doors pretty well. Also, the process of fitting sliding wardrobe doors will not take you too much time if you do everything in the right way.
In this blog, we’ll walk you through the process and explain how to fit sliding wardrobes. Plus, we’ll provide you with useful tips on how to fit a sliding door.
So, let’s get started
How to Prepare for Fitting Sliding Wardrobe Doors
It all begins with the preparation. You need to prepare all the necessary tools that you’ll use when fitting and installing sliding wardrobe doors.
Make sure your tool kit includes the following:
- Allen key
- Drill
- Pencil
- Screw
- Spirit level
- Tape measure
Making Measurements for Sliding Wardrobe Door
Measurements play a very important role in the process of fitting and installing sliding wardrobe doors. That’s why we would recommend you to double-check all of the necessary measurements carefully.
Here are the measurements you need to take before to start installing sliding doors:
- First and foremost, you need to measure your space and tell room sizes to your consultant. This will help you make a right choice and pick sliding wardrobe doors that fit your interior design well.
- After that, you should take advantage of spirit level and realize what type of leveling your floor, ceiling and walls have.
- At the next stage, you have to measure the depth of opening. This measurement will help you and your consultant figure out what type of wardrobe doors is suitable for your space.
- The width at the top of opening and width at the bottom of opening have to be measured as well.
- Now, you should switch to the area of your wardrobe and measure the heights in three locations. You need to ensure that the wardrobe of your choice will fit the space
Fitting and Installing Sliding Wardrobe Doors
It makes sense to get started with the installation process you should get familiar with the instructions provided by manufacturers of sliding wardrobe doors. Pay a close attention to the health and safety section.
At the first stage, the top track needs to be screwed to the ceiling. After that, you should position the bottom track on the floor. Don’t fix it now!
Now, it’s time to insert the door into the top and bottom tracks. The door needs to be inserted into back channel.
Make sure that the door is properly positioned on both sides of the track and then level it up. Mark drill holes on the floor before removing the door.
Then, drill the holes and screw the bottom track to the floor.
At the next stage, you have to fit in the back doors. You’ll find it easy to do this if you enlarge your anti-jump system by removing transportation lock.
Lastly, the bottom wheels need to be adjusted (with Allen key of 4 mm). Adjust the bolt closest to the door if a need to change height as well as the angle of each door arises.

Final Thoughts
That’s it. Thank you so much for reading this article. Hopefully, now you have a better understanding of how to fit and install wardrobe doors in your space.
Do you still have any questions or, maybe, you would like to learn more about the process? If so, contact a showroom consultant to get a professional advice or visit our sliding wardrobe doors for trade section.
